Once you identify mold in your home, acting quickly is essential. Mold remediation involves several steps to ensure that the problem is fully addressed and your home remains safe.
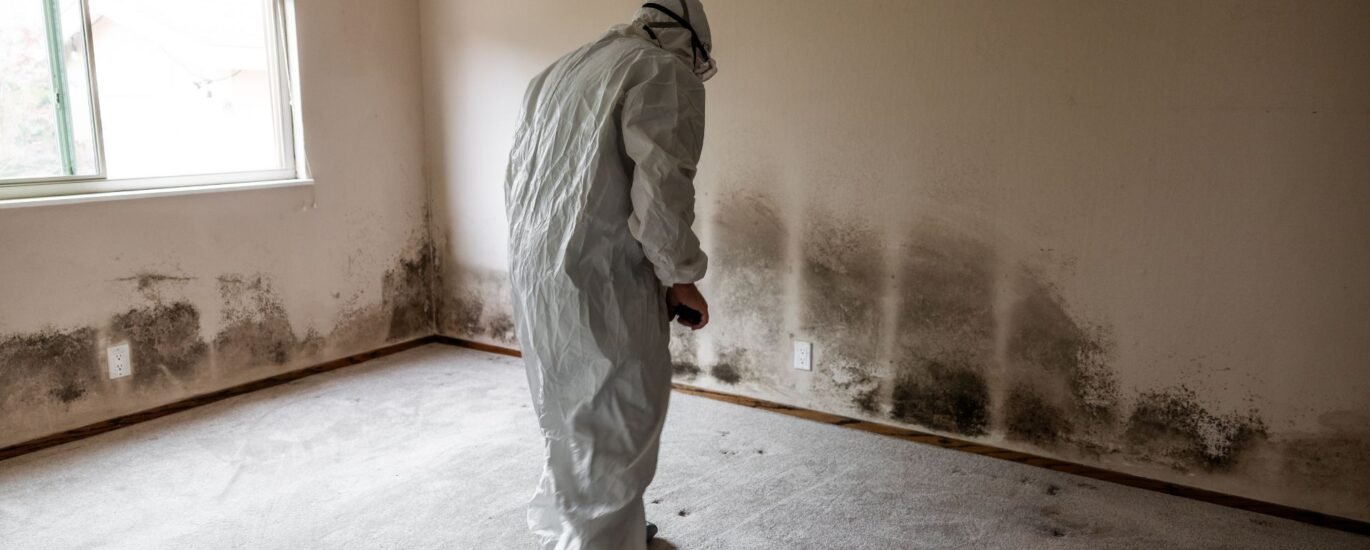
Step 1: Assessment and Inspection
The first step in mold remediation is a thorough inspection. Professionals will:
- Examine visible mold growth
- Identify potential hidden mold
- Assess water damage
- Test for mold type if necessary
Accurate assessment helps determine the best course of action for removal.
Step 2: Containment
Containment prevents mold spores from spreading to unaffected areas of your home. Techniques include:
- Sealing off rooms with plastic sheeting
- Using negative air pressure
- Restricting access to affected areas
Step 3: Air Filtration
High-efficiency air filters and HEPA vacuums remove mold spores from the air. This step minimizes cross-contamination and protects the health of anyone in the home.
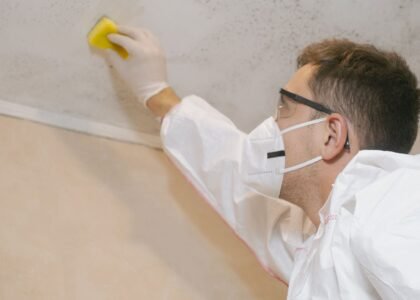
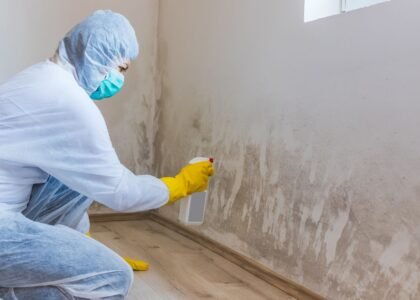
Step 4: Mold Removal
Mold is removed from surfaces using specialized cleaning agents and techniques, such as:
- Scrubbing hard surfaces
- Removing contaminated drywall, insulation, or carpeting
- Applying antimicrobial treatments
Step 5: Restoration and Prevention
After mold removal, the final step is restoration. This may include:
- Repairing walls, floors, and ceilings
- Replacing damaged materials
- Implementing long-term moisture control
You can learn more about professional mold remediation techniques on our Mold Remediation page.
Tips for Homeowners During Remediation
- Stay out of affected areas
- Keep humidity low
- Dispose of mold-contaminated materials properly
- Monitor for any signs of recurring mold
For more information or to schedule professional assistance, visit our Contact page.
This process overview naturally leads to our next topic: preventing mold growth long-term in your home.